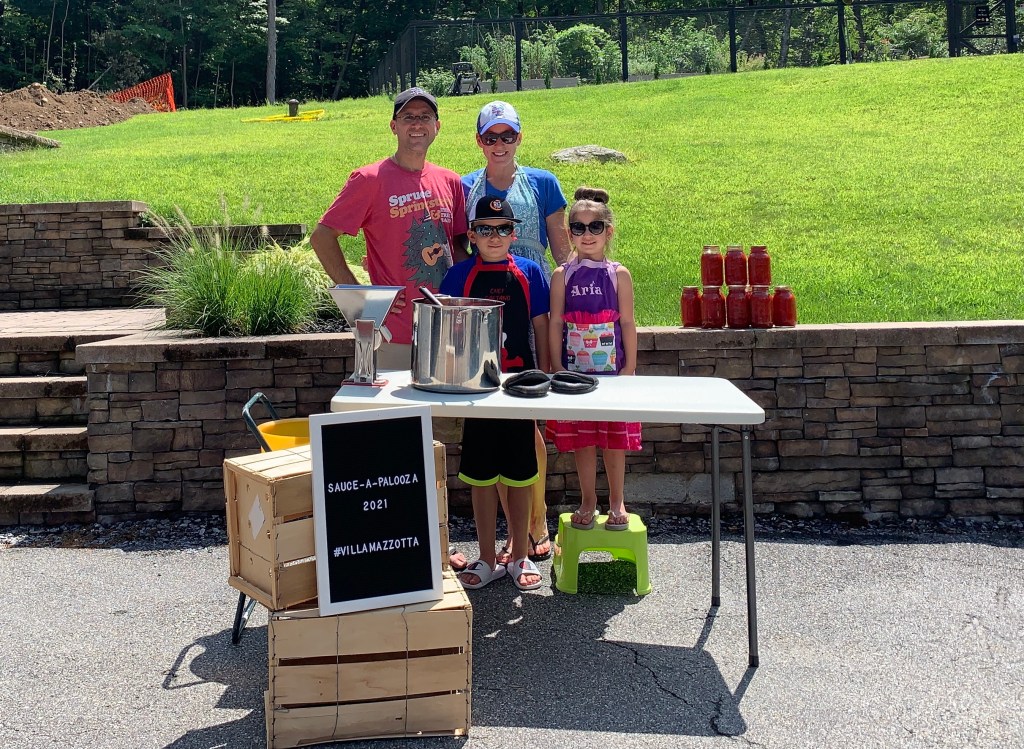
It’s that time of year again! The end of the summer when all of the little old Italians (and us) flock to the local farms to purchase tomatoes in bulk for their annual sauce making.
This is the 11th year I have been doing this. Well, 11 years flying solo without the help of my mother-in-law. She actually began teaching me this whole process before I married her son. You know, to make sure he would be well fed once we were married lol.
Every year on average, we process somewhere around 65 plus or minus (usually plus) jars of sauce. Let’s do a little math here…..
65 jars x 11 years….that’s 715 jars of sauce!!! Mama mia!!!
I suppose that is why this year I have had so many requests for a tutorial on how we make our sauce. I guess after 11 years I am no longer a novice at this process. At this point, I could make sauce in my sleep!
You can google “How to can tomato sauce” and come up with thousands of different ways and different recipes, but anyone who has had a meal at Villa Mazzotta knows that our sauce is the REAL DEAL.
So my friends. Let’s get started. Here is a list of what you will need:
- tomatoes (in bulk from a farm or lots from your garden)
- large stock pot
- knife (serrated knives cut through tomatoes the best!)
- wooden spoon
- ladle
- funnel
- tomato grinder (we have two different types, I will explain below)
- canning jars, lids, and rings (wide mouth jars if you plan on freezing your sauce)
- water bath pot and accessories (only if you plan on water bathing your jars)
- hot pads, towels, and an apron (this is a hot, messy job)
- lemon juice (only if you are canning using the water bath method)
Alright, here we go. You ready? Don’t say I didn’t warn you….
Step 1: Wash your tomatoes

We usually do this outside in a kiddie pool, but this year we were battling Tropical Storm Henri. Therefore, we had to bring our entire operation indoors. We filled our kitchen sink with luke warm water and washed all the dirt off the tomatoes.
During this step, you also want to separate any bad ones from the batch. Any spoiled or rotten tomatoes, any that smell bad, get them out of there! One bad tomato in your sauce will ruin it! It’s best to keep any “questionable” tomatoes off to the side and use them for salads or other recipes.
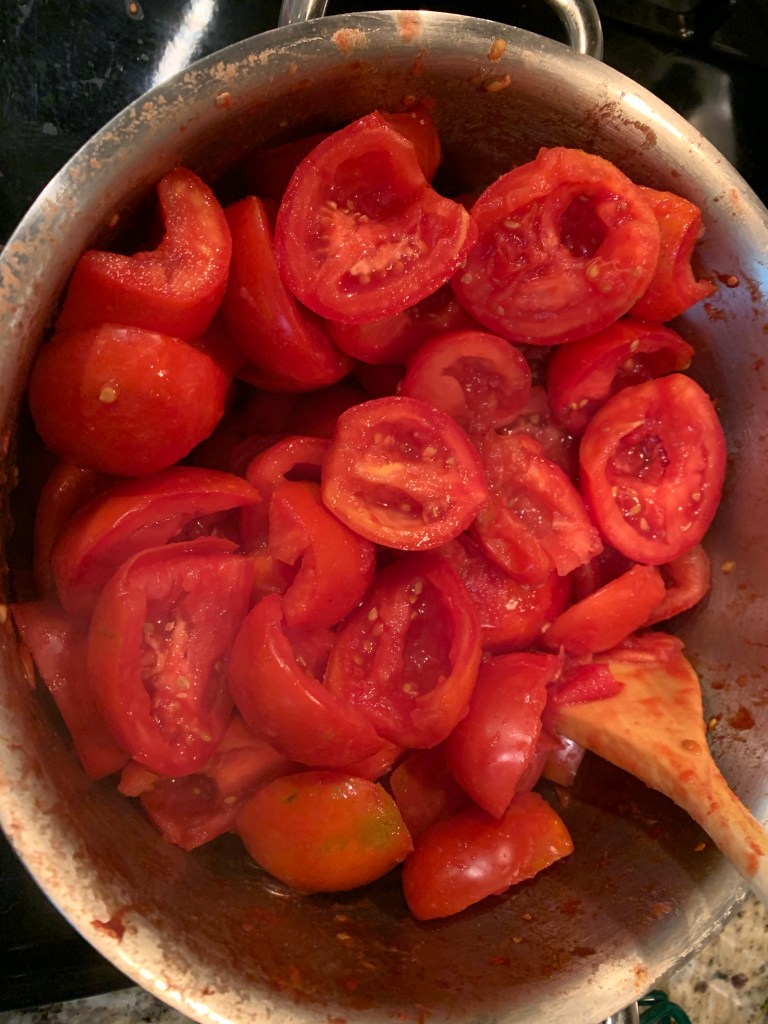
Step 2: Cut tomatoes
In this step, we cut the tops off and the little bit of the white stems of the tomatoes. Also during this step if you see any brown spots or bad parts of the tomato, cut them off and discard. There is no need to boil off the skins, or remove the seeds. Those will come off during the grinding process.
Step 3: Cook Tomatoes
Now that you have your tomatoes sliced and in a big stock pot (or small stock pot; depending on how much sauce you are making); it’s time to turn on the stove.
Put the pot with tomatoes over medium heat, stirring occasionally so the tomatoes don’t stick to the bottom of the pot and burn.
Cook tomatoes until they are soft and there is a good amount of water in the pot. You don’t want them too hard otherwise you will have a hard time grinding them down in the next step.

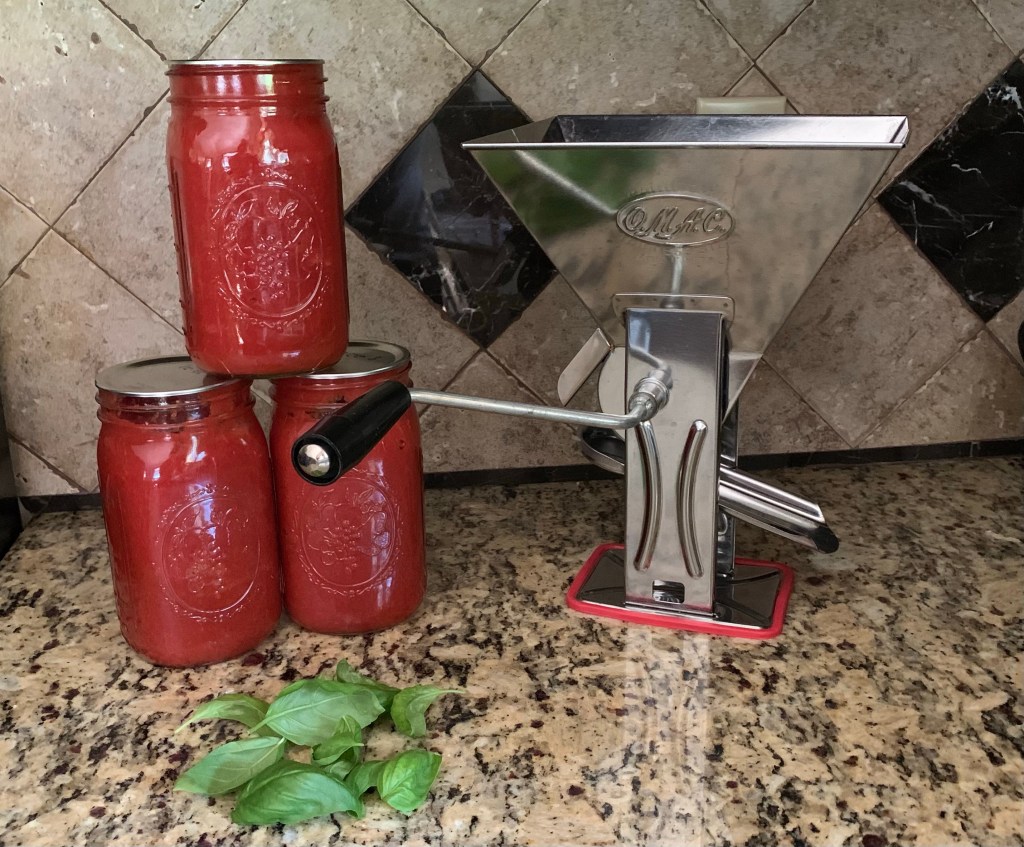
Step 4: Grind tomatoes
In the next step, I will show you our two different grinders. Both of which we bought in Italy but you can find similar versions of both here in the US.
The smaller grinder fits over a small sauce pan right in the sink. We usually use this one for our garden tomatoes when we are only canning 3-4 jars of sauce at a time.
The larger grinder we attach to the end of a table which we place outdoors. This one makes a mess so clean up is much easier outdoors with a hose.
We run the hot, cooked tomatoes through the grinder 3-4 times until there is nothing left but skin and seeds.
Once you have finished grinding the tomatoes, you should have a large pot of sauce. If the sauce seems a bit watery, you can put it on the stove and boil it for a bit to boil off some of the water so it will thicken up. If the sauce looks pretty good and not watery, you are ready to move on to the next step!


Step 5: Jar the sauce
Freezing Method:
There are 2 methods of preserving your jars and we have done both. Freezing and canning. If you are freezing your sauce, make sure you are using wide mouth glass jars, not regular. The regular mouth jars will break in the freezer.
If you choose to freeze your sauce, simply add a fresh basil leaf to each jar, fill each jar with sauce (not all the way up to the top) and VOILA! You are done! If you plan on canning your sauce, see below:
Canning Method:
When preserving your sauce using the canning method, you can use either wide mouth or regular canning glass jars. Make sure the jars and lids have been cleaned and sterilized (I run mine through the dishwasher first).
Add one fresh basil leaf to each jar and one tablespoon of lemon juice. The lemon juice is part of the preservation process. Acidic foods are shelf stable when canned using the water bath method.
While tomatoes are acidic to begin with, adding the lemon juice just ensures extra food safety. And don’t worry, you can’t taste it in the sauce at all.
Once you have added the basil and lemon juice, fill your jars with the sauce being careful not to overfill. Once all of you jars are filled, wipe the rim of each jar, ensuring that there is no sauce residue remaining.
Put the lid on your jars and tighten. Make sure you don’t over tighten! I made this mistake once and the tops of the lids exploded and I had to re-bath an entire batch!
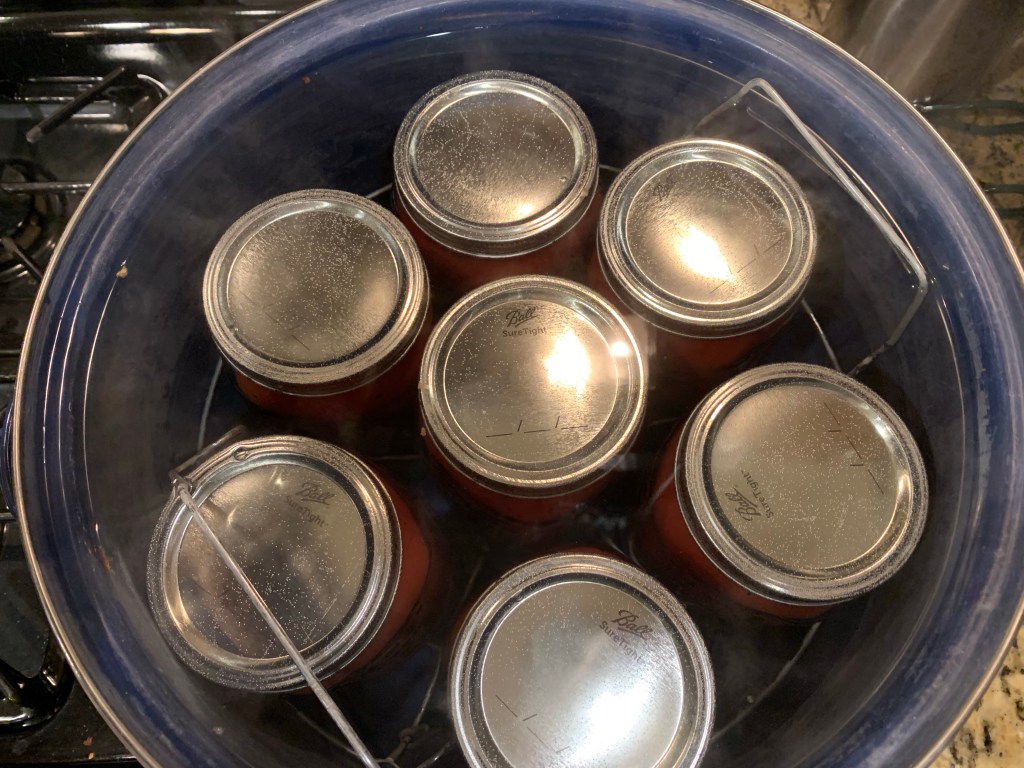
After your jars are filled with sauce, put them in your water bath pot and fill with enough water so that the water covers the tops of the jars. Turn your stove burner on high and cover.
Keep an eye on the pot. When the water reaches a roaring boil, set a timer for 45 minutes. For safe canning, quarts of sauce must be boiled at a roaring boil, with the lids fully covered in water for a full 45 minutes.
When 45 minutes is up, remove the jars and place them on a cutting board, hot pads, or towels (you don’t want to ruin your counter tops!)
Repeat the process until all of you jars have been water bathed.
Let your jars cool. It will take awhile. Once they have cooled, check the lids. Press down on the tops. If you hear a “pop” it means the lid did not seal correctly. Put that jar in the fridge and use it within a week.
If you don’t hear the “pop”, you are good to go! Your jars have sealed and your sauce is now shelf stable for 12-18 months. As you are going though your sauce, we make it a habit to check the lids on all of our jars to make sure they are still sealed. If we hear one that “pops” we discard that jar. A rotting jar of tomato sauce in the far corner of your cupboard does NOT smell good. Trust me.


I’ve been asked a few times, “When do you add your spices?” Well, the simple answer is, we don’t. We preserve our sauce ‘as is’ that way it can be used for a variety of recipes. Pasta, chili, soup bases, stews, etc.
When cooking up our house tomato sauce, we simply brown some garlic in olive oil in a pot on the stove, pour in the sauce and add some salt, pepper and basil. That’s IT! No sugar, no cheese, no onion and garlic powder and whatever other spices you can drum up in the spice rack.
Nice. And. Simple. Happy sauce making friends! MANGIAMO!
