
The month of August is here! Well…it’s been here for awhile actually. I’ve been meaning to sit down to write this blog post for sometime now but with our garden churning out tomatoes on the daily, we have been in full sauce making mode here at Villa Mazzotta.
Also, with September just around the corner, this is our month to prep meals for the freezer which saves us LOADS of time once school and fall sports are back in session.
One of my most favorite Italian meals to prep and freeze is our homemade ravioli. And these aren’t just ANY ravioli. My father-in-law used to make these at his Italian restaurant and they were famous!
At most Italian restaurants when you order the ravioli, you end up with 4-5 little pockets with nice neat edges cut with a fancy ravioli cutter. Sure they look pretty, but do they taste good? Do they actually fill you up? Usually the answer is no.
My father-in-law’s ravioli are HUGE and the taste? Well…just ask my picky little children. They devour these like I’ve never seen!
The recipe may seem a little unorthodox, but this is how my in-laws cook. When you’re Italian, there is no set measurements, you just know. LOL.
Pasta Recipe:
- Flour (no set amount, you just keep adding until the liquid is absorbed)
- 4 eggs
- 1 dry measuring cup of milk
- 1 dry measuring cup of warm water
Meat Filling:
- ~1 pound of mixed Italian ground (beef, pork, veal)
- 1 can of peeled Italian whole tomatoes
- 1/2 of a yellow onion finely diced
- Salt, pepper, and dried basil to taste

Step 1:
Brown meat in a frying pan. Drain fat (only if there seems to be an excess amount). Set aside.
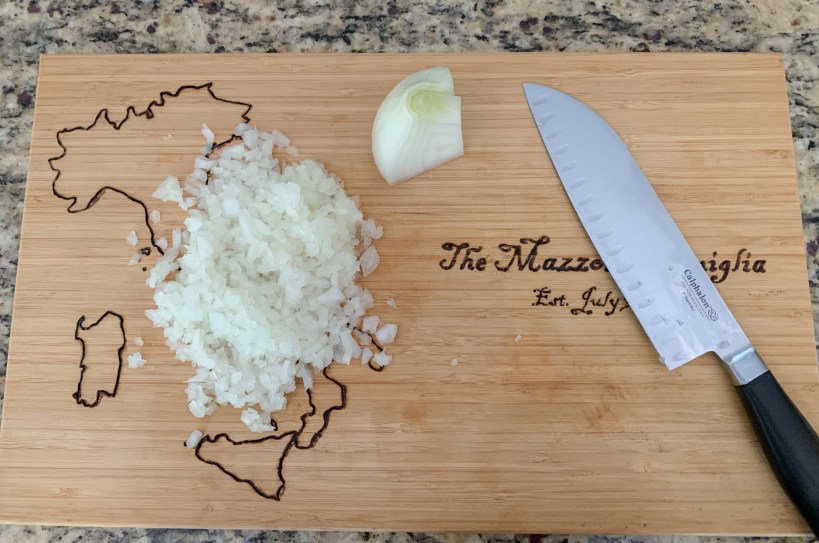
Step 2:
Finely dice 1/2 a yellow onion. The smaller, the better.

Step 3:
Heat approximately 1 1/2 Tbsp of olive oil in a sauce pan over medium heat. Add onion and cook for about 5 minutes or until very light brown.

Step 4:
Add the meat to the sauce pan with onions. Add one can of peeled plum tomatoes to the mixture. This is the brand of tomatoes we prefer. We like to save our homegrown garden tomatoes for the sauce.
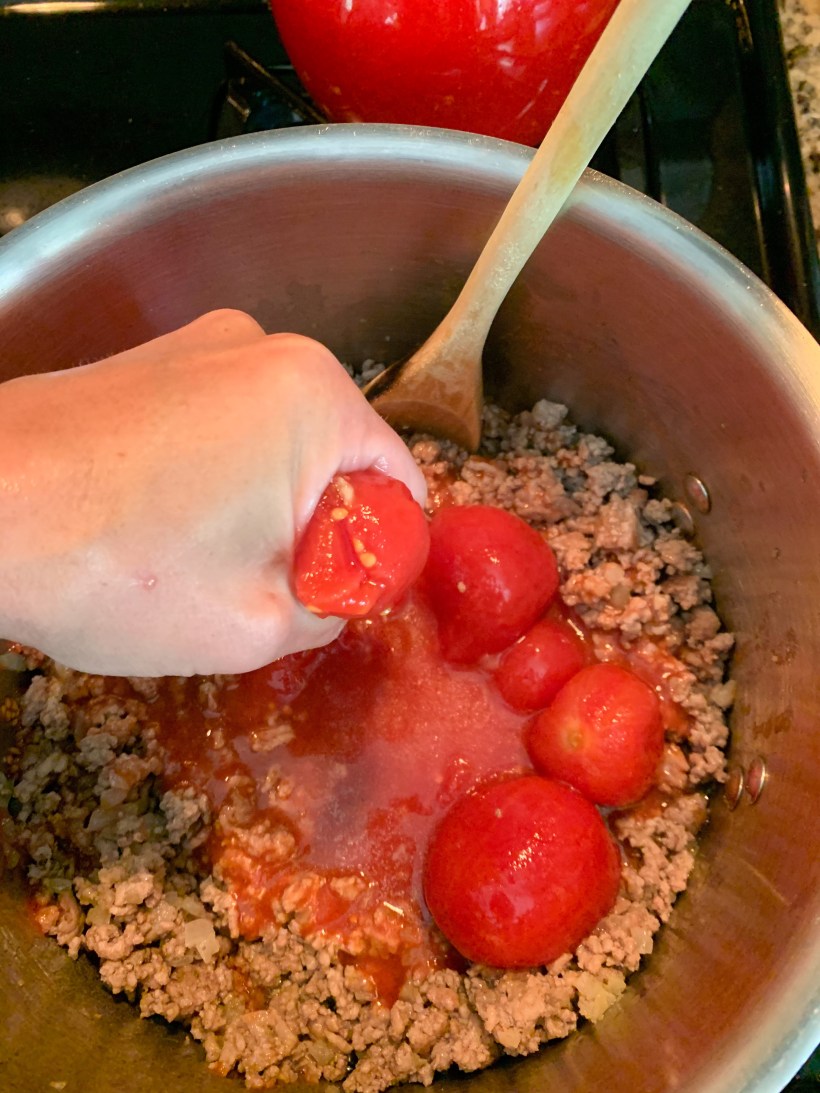
Step 5:
Squish tomatoes with your hand and mix into meat mixture. Add salt, pepper and dried basil to taste. Bring to a boil over medium heat and cook it down until most of the water is gone and the mixture seems dry. Set aside to cool.

Step 6: Making the Pasta
Pour approximately 4-5 cups of flour in a bowl or directly on the counter. The reason I don’t use a bowl is because this is how my in-laws taught me so why mess with the process right? It’s also much easier to knead the dough with your hands when it’s not in a bowl.
Add 4 eggs and mix with hands.
Add 1 dry measuring cup of milk and continue mixing. If the dough seems really wet, add more flour.
Add 1 dry measuring cup of warm water and continue mixing.
Add more flour as needed, add more water as needed.
*Side note: If you have a stand mixer, you can do this step in the mixer using the dough attachment. I’ve done it both ways, by hand and with the mixer. Either way is fine.

Step 7:
Once dough is thoroughly kneaded, cut into 3-4 separate balls and cover with plastic wrap. Let sit on the counter for about 30 minutes.
Step 8:
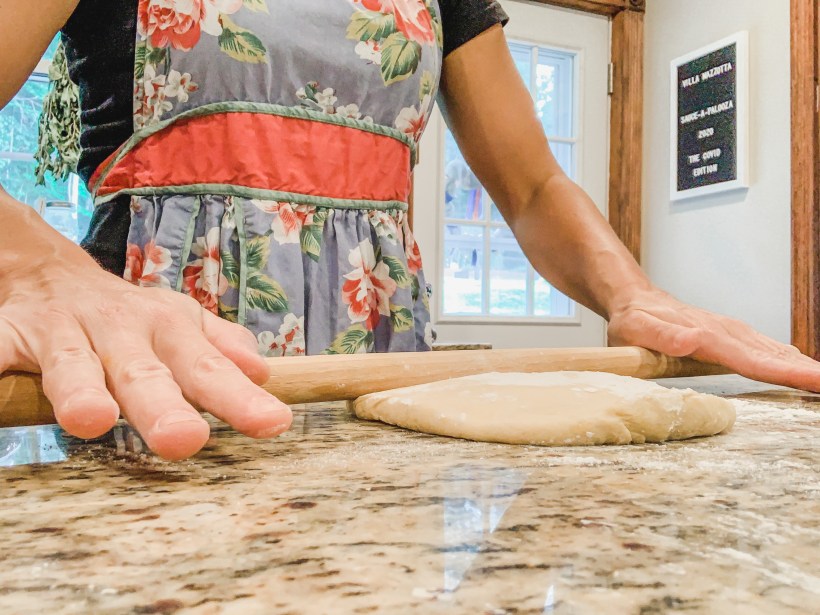
Roll out the pasta dough. If you have a pasta attachment for your stand mixer you can use that. However, I believe the old school hand rolled method yields much better results.
Instead of a rolling pin, I use a sawed off piece of broom handle. Weird, I know. When my in-laws showed me this method I thought it was a bit odd, but honestly, using a thin rolling pin (or broom handle in this case) gives you more control over the dough and allows you to roll it out thinner, bigger and flip it over as necessary.
Step 9:
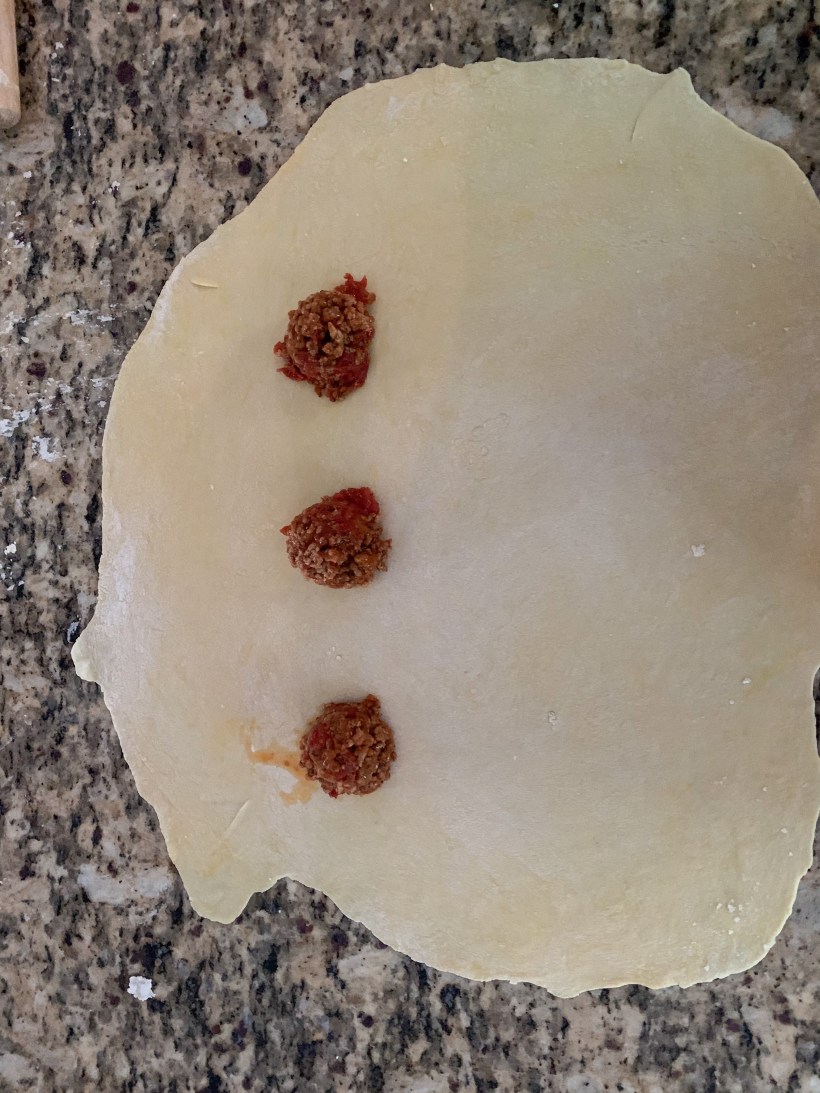
Add the meat filling. I like to use a cookie scoop to make it a little cleaner, but you can use a spoon as well. Space the filling about 2 inches apart and leave about 3-4 inches of dough clear on the left side.
Before proceeding to the next step, take a wet piece of folded up paper towel and lightly wet the edges in a square shape around the meat filling.
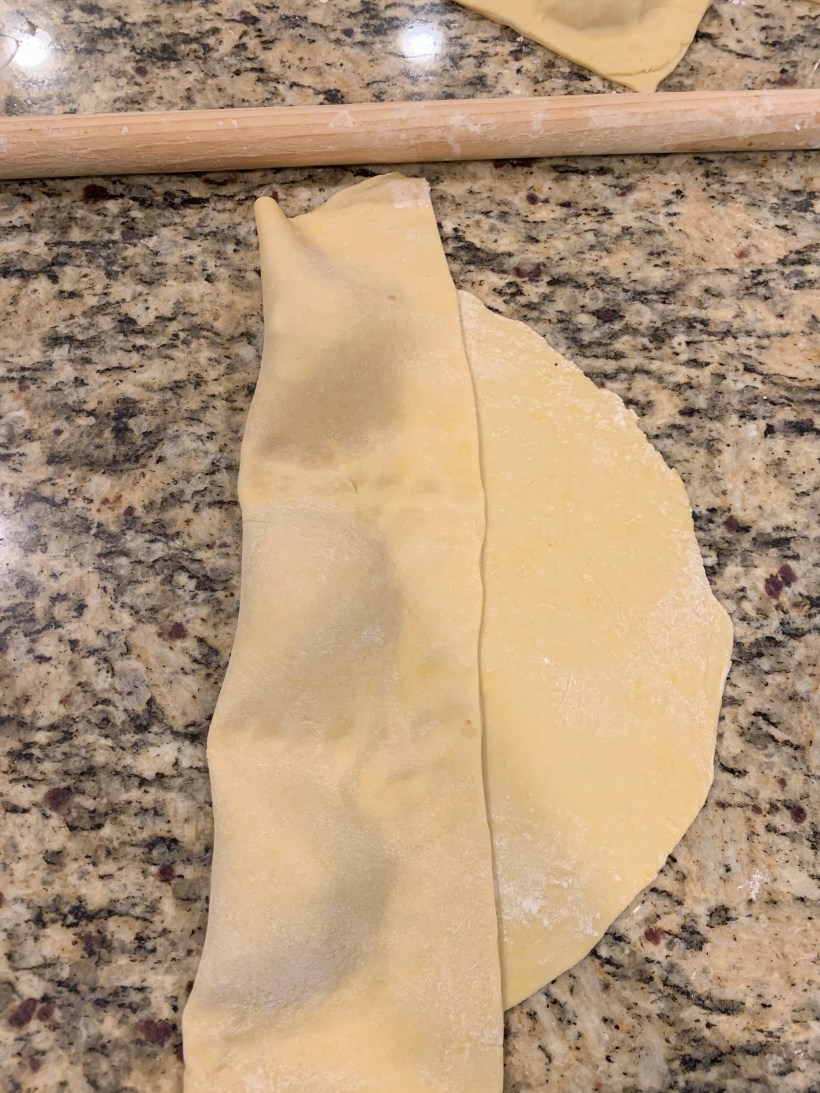
Step 10:
Fold dough over filling from left to right. Press down dough around filling making sure to get all the air out before sealing. Cut along edge with pizza cutter or knife.
Repeat the process until all meat filling and dough has been used.
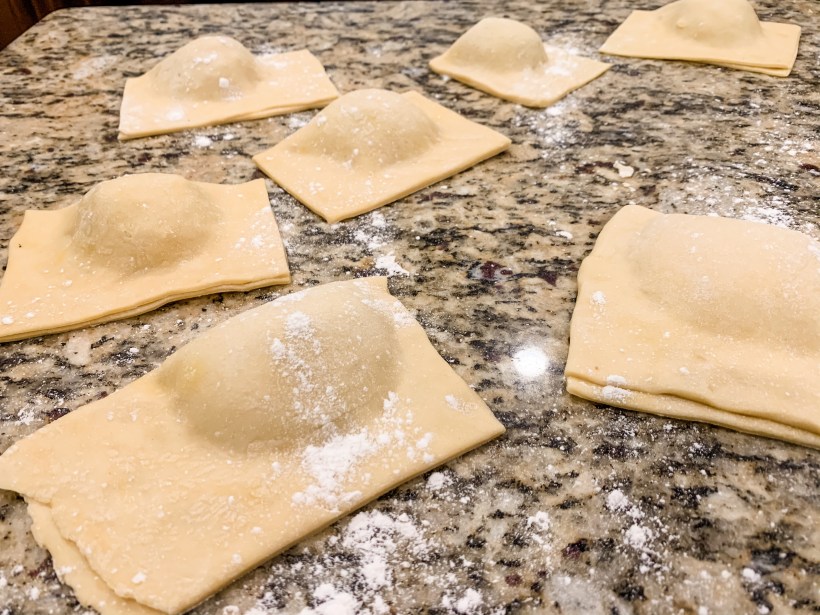
Step 11:
Before cooking, make sure all sides of ravioli are sealed tightly.
Bring large pot of water to a roaring boil. Once water is boiling, add ravioli about 5-6 at a time. Boil until ravioli float. When they float, they are done.
Spoon into large bowl full of cold water and let sit for a few minutes. I keep the bowl in my sink because in between batches you will need to refill it with cold water.
After letting the ravioli sit in the cold water, strain and serve with delicious tomato sauce.
*Freezing Instructions– After straining, place ravioli in a single layer on a cookie sheet. Parchment paper can be placed on top and another layer of ravioli added to the cookie sheet. Freeze until frozen solid then store in a freezer bag. When cooking frozen ravioli, add to pot of boiling water until ravioli float. Strain and add tomato sauce.
*If any ravioli break open during boiling, set aside and eat right away or freeze separately. When cooking broken ravioli which was frozen, do not boil. Defrost in microwave until piping hot.
